mirror of
https://github.com/openstenoproject/qmk
synced 2024-11-23 08:54:38 +00:00
54 lines
3.3 KiB
Markdown
54 lines
3.3 KiB
Markdown
|
|
# miniZone
|
||
|
|
|
||
|
|

|
||
|
|
|
||
|
|
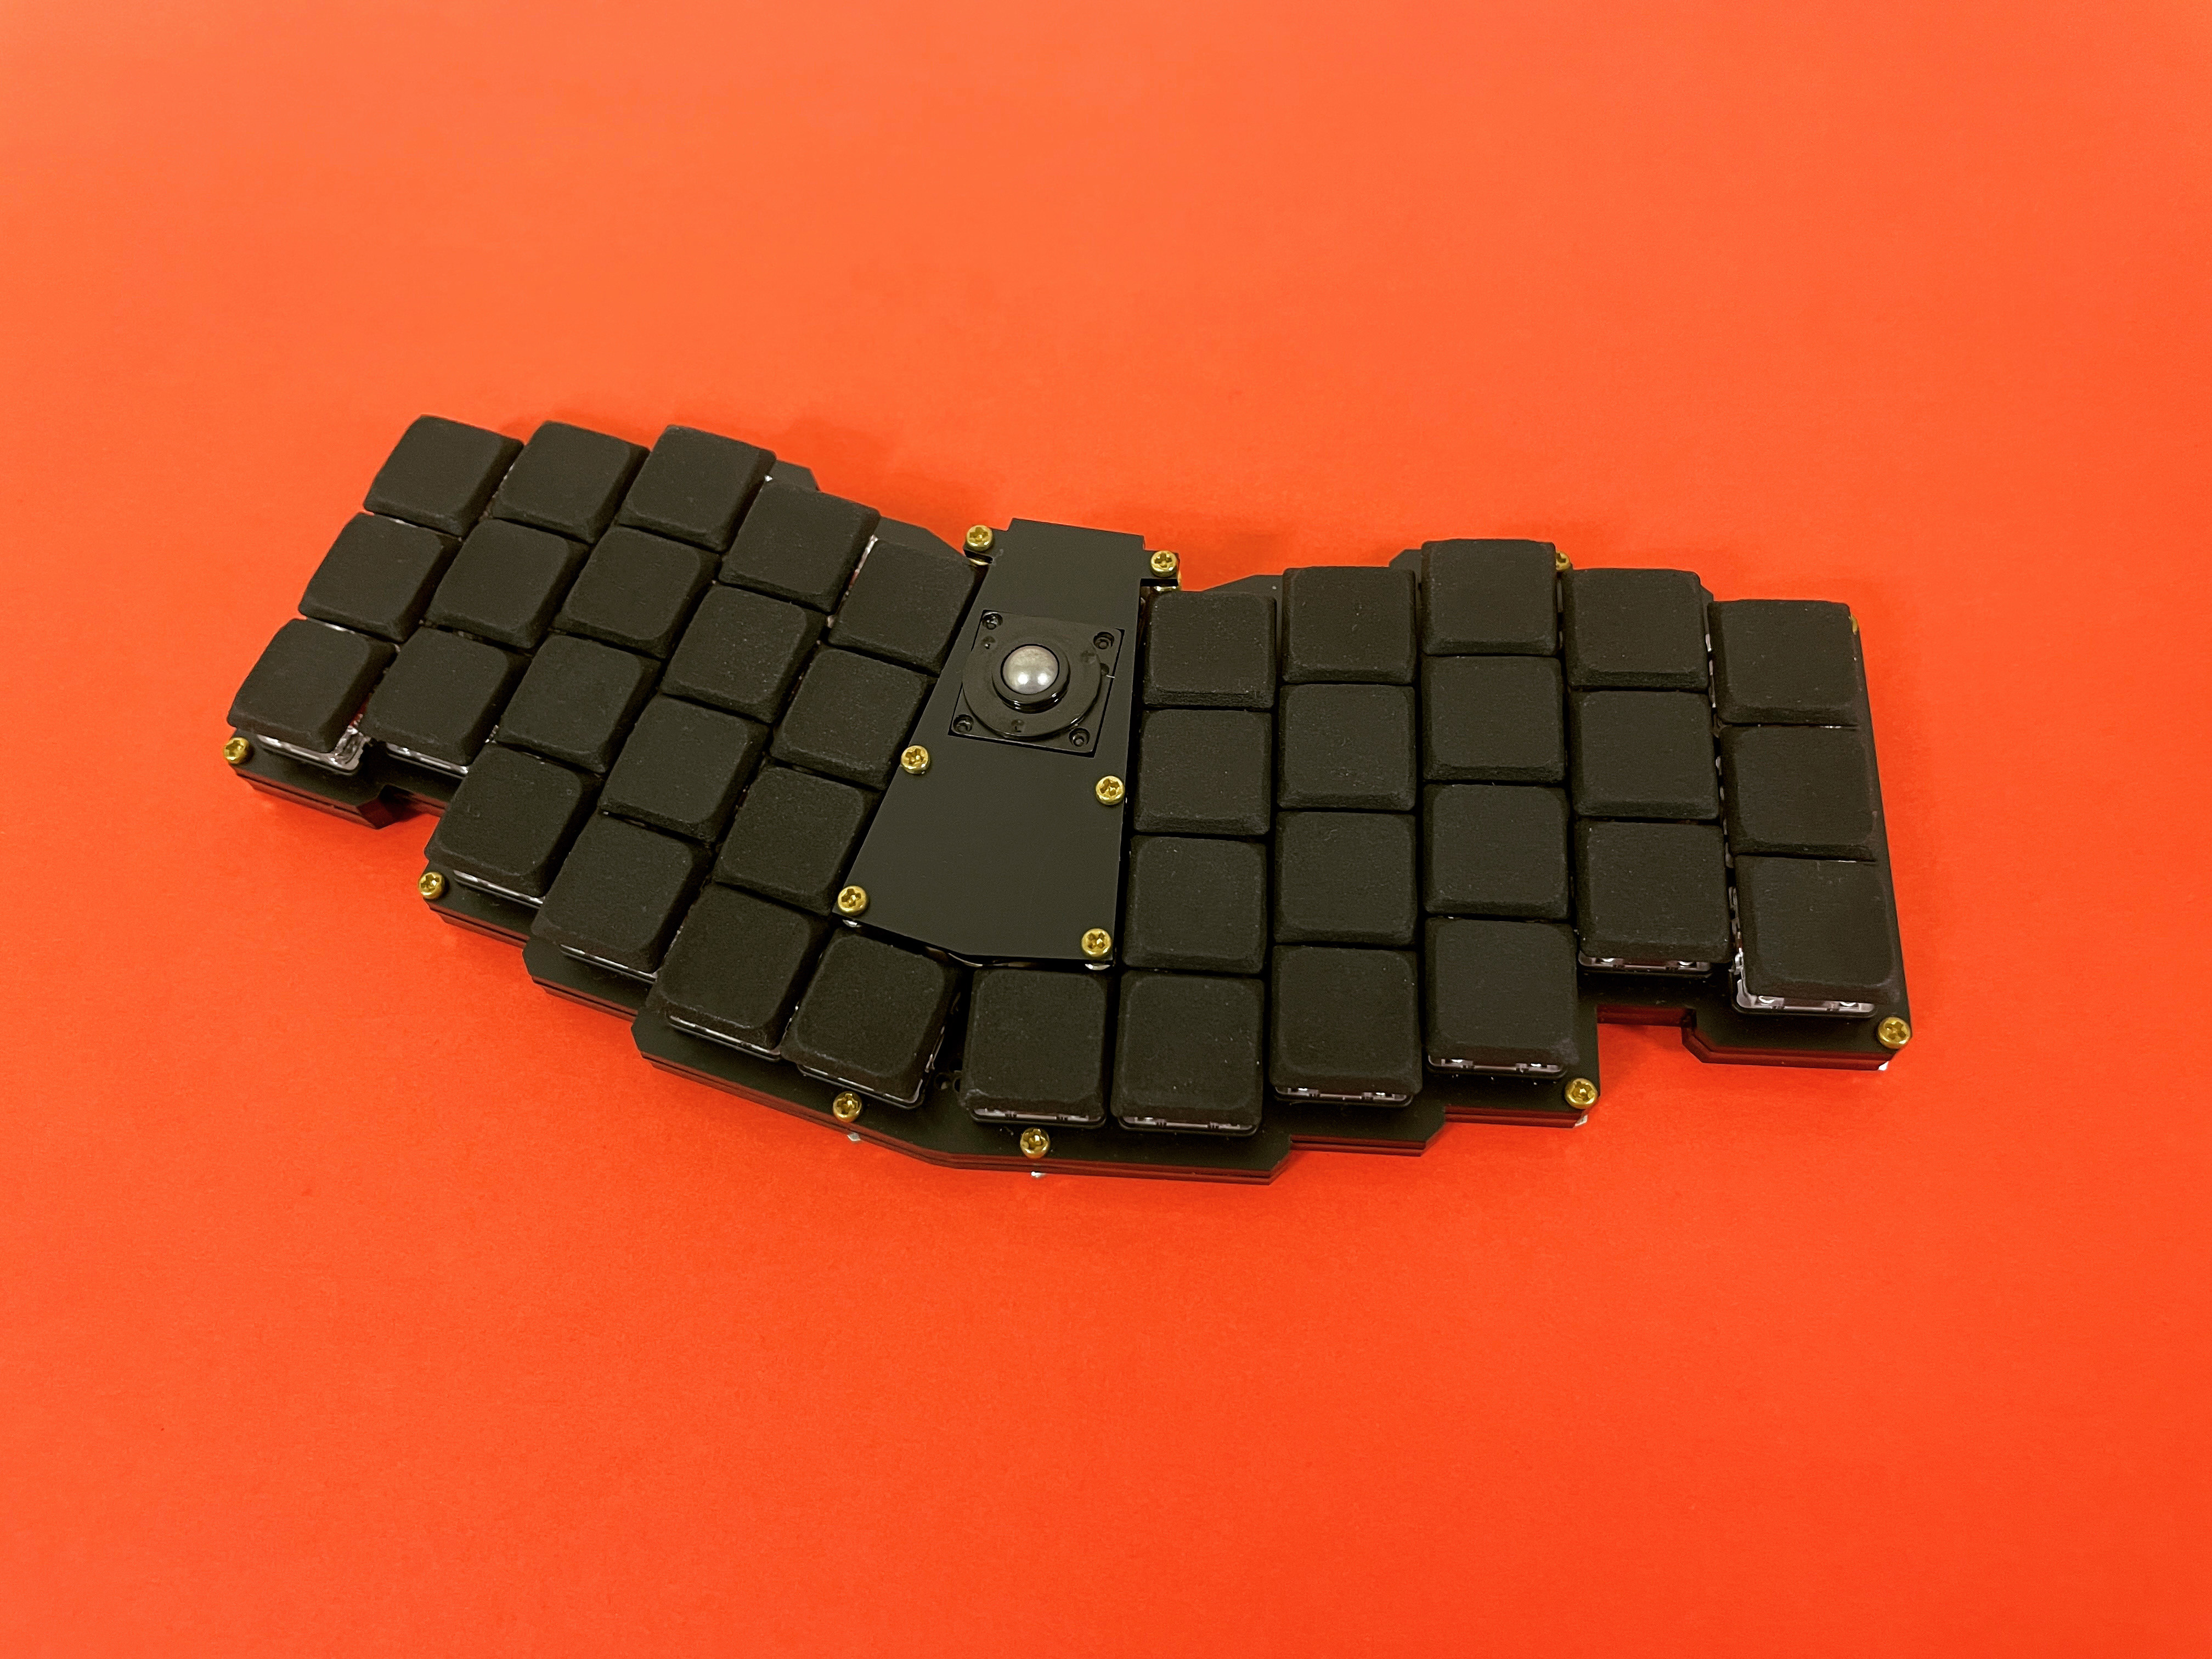
miniZone is a compact keyboard designed to be carried with a tablet device like iPad mini.
|
||
|
|
Its width is the same as that of the iPad mini, so it can be placed in a case together.
|
||
|
|
We aimed for high practicality in spite of its small size.
|
||
|
|
Of course, it is useful not only for iPad mini but also for other tablet devices and PCs.
|
||
|
|
It is 80% the size of a conventional keycap (0.8u = 16mm), but allows you to type with fewer finger movements.
|
||
|
|
|
||
|
|
Also, functions such as LED underglow and OLED are implemented.
|
||
|
|
With [BLE Micro Pro](https://shop.yushakobo.jp/products/ble-micro-pro?variant=37665571340449), it is also possible to connect via Bluetooth.
|
||
|
|
CR1632 battery can be attached to the base by using optional parts.
|
||
|
|
In addition, a trackball is included, allowing you to perform all operations without taking your hands off the keyboard.
|
||
|
|
(Source code for using the trackball is [here](https://github.com/takashicompany/qmk_firmware/tree/minizone/trackball/keyboards/takashicompany/minizone/keymaps/trackball)).
|
||
|
|
|
||
|
|
---
|
||
|
|
|
||
|
|
miniZoneはiPad miniのようなタブレット端末と一緒に持ち歩くことをコンセプトにしたコンパクトなキーボードです。
|
||
|
|
横幅はiPad miniと同じですので、一緒にケースに入れることが可能です。
|
||
|
|
小さいながらも高い実用性を目指しました。
|
||
|
|
もちろん、iPad miniだけでなく他のタブレット端末やPCで使っても便利です。
|
||
|
|
従来のキーキャップの80%のサイズ(0.8u = 16mm)ですが、少ない指の動きで文字を打つことが可能です。
|
||
|
|
|
||
|
|
また、LEDによるアンダーグロウやOLEDといった機能も実装しております。
|
||
|
|
[BLE Micro Pro](https://shop.yushakobo.jp/products/ble-micro-pro?variant=37665571340449)を使えばBluetoothで接続することも可能です。
|
||
|
|
オプションパーツを揃えることでCR1632電池を基盤に取り付けることも可能です。
|
||
|
|
さらにトラックボールを搭載して、キーボードのから手を離さずにすべてを操作を行うことができます。
|
||
|
|
(トラックボールを利用する際のソースコードは[こちら](https://github.com/takashicompany/qmk_firmware/tree/minizone/trackball/keyboards/takashicompany/minizone/keymaps/trackball))。
|
||
|
|
|
||
|
|
---
|
||
|
|
|
||
|
|
* Keyboard Maintainer: [takashicompany](https://github.com/takashicompany)
|
||
|
|
* Hardware Supported: PCB, Pro Micro
|
||
|
|
* Hardware Availability: https://github.com/takashicompany/minizone
|
||
|
|
|
||
|
|
Make example for this keyboard (after setting up your build environment):
|
||
|
|
|
||
|
|
make takashicompany/minizone:default
|
||
|
|
|
||
|
|
Flashing example for this keyboard:
|
||
|
|
|
||
|
|
make takashicompany/minizone:default:flash
|
||
|
|
|
||
|
|
See the [build environment setup](https://docs.qmk.fm/#/getting_started_build_tools) and the [make instructions](https://docs.qmk.fm/#/getting_started_make_guide) for more information. Brand new to QMK? Start with our [Complete Newbs Guide](https://docs.qmk.fm/#/newbs).
|
||
|
|
|
||
|
|
## Bootloader
|
||
|
|
|
||
|
|
Enter the bootloader in 3 ways:
|
||
|
|
|
||
|
|
* **Bootmagic reset**: Hold down the key at (0,0) in the matrix (usually the top left key or Escape) and plug in the keyboard
|
||
|
|
* **Physical reset button**: Briefly press the button on the back of the PCB - some may have pads you must short instead
|
||
|
|
* **Keycode in layout**: Press the key mapped to `RESET` if it is available
|